
Foolproof 7-Day Kimchi Fermentation Guide Recipe
Introduction
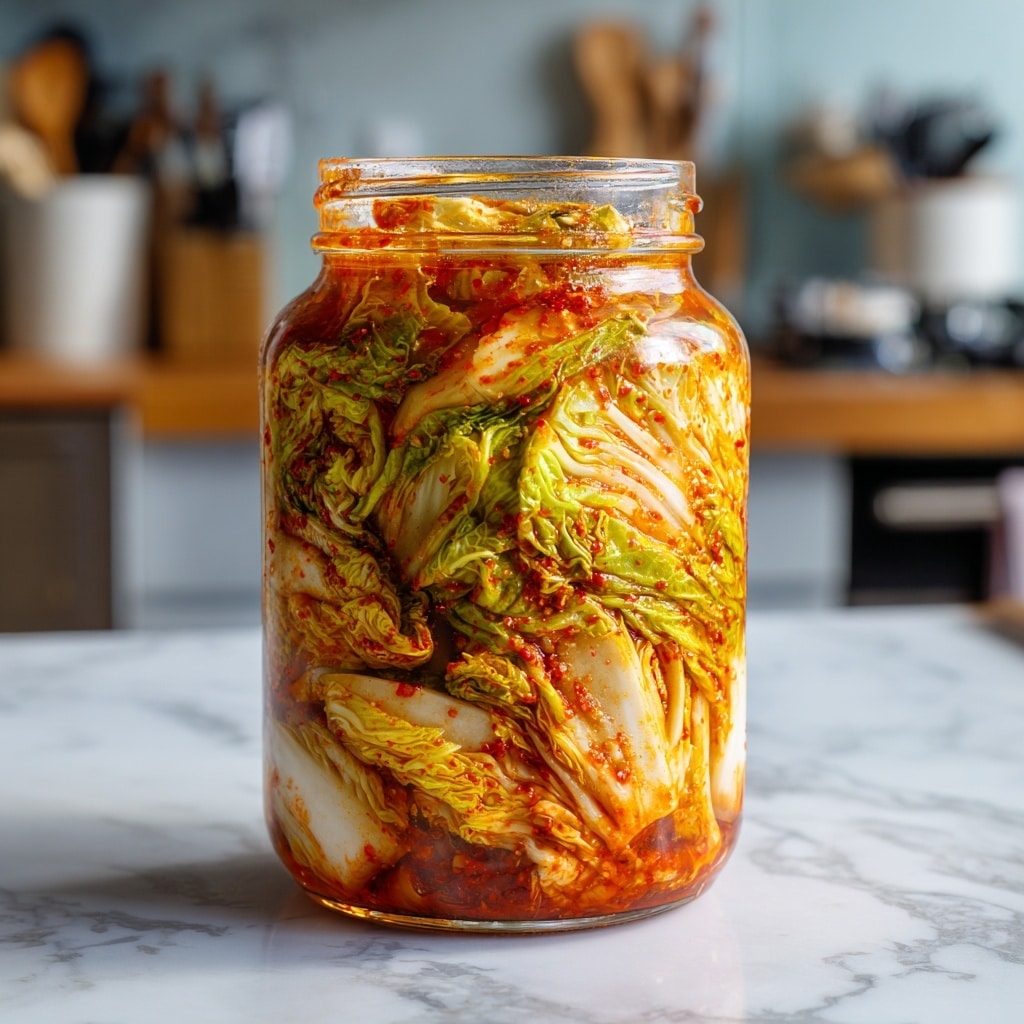
Have you ever dreamed of making your own kimchi at home? This foolproof 7-day plan guides you through fermenting a flavorful, tangy kimchi that’s rewarding and fun to make. Let’s embark on this spicy culinary adventure together!

Ingredients
- 1 large Napa cabbage (2-3 pounds)
- 1/4 cup sea salt (non-iodized)
- 1 tablespoon sugar
- 1/2 cup Korean chili flakes (gochugaru)
- 4 cloves garlic, minced
- 1-inch piece of ginger, grated
- 2 tablespoons fish sauce (or soy sauce for vegetarians)
- 1 tablespoon rice flour (optional)
- 1 bunch green onions, chopped
- 1 carrot, julienned (optional)
- 1 daikon radish, julienned (optional)
Instructions
- Step 1: Wash the Napa cabbage and cut it into quarters lengthwise. Remove the core and chop the cabbage into bite-sized pieces. Place them in a large mixing bowl.
- Step 2: Sprinkle the sea salt over the cabbage and massage it in with your hands (wear gloves if your skin is sensitive). Let it sit for about 2 hours, tossing every 30 minutes until softened and watery.
- Step 3: While the cabbage rests, prepare the kimchi paste by mixing together the gochugaru, minced garlic, grated ginger, fish sauce (or soy sauce), sugar, and rice flour if using. Add a splash of water if the paste is too thick.
- Step 4: After your cabbage has brined for at least 8 hours or overnight, rinse it thoroughly under cold water to remove excess salt. Drain well in a colander and gently squeeze the cabbage to remove extra liquid. Set aside.
- Step 5: Stir the kimchi paste, adjusting consistency with water if needed so it’s spreadable. Combine the drained cabbage, chopped green onions, julienned carrot, and daikon in a large bowl.
- Step 6: Wearing gloves, pour the kimchi paste over the vegetables and massage it in until every piece is coated. Taste and adjust salt or spice as desired.
- Step 7: Pack the kimchi tightly into a clean fermentation jar, pressing down to remove air bubbles. Leave some space at the top and use a smaller jar or weight to keep the vegetables submerged in their juices. Add a little brine if necessary.
- Step 8: Seal the jar and place it on a tray to catch any leaks. Store it in a cool, dark spot at 65-75°F to ferment for about 5 days. Look for bubbles and a tangy aroma as signs of fermentation.
- Step 9: On Day 6, taste the kimchi. If it has reached your preferred tanginess, move it to the refrigerator to slow fermentation. Otherwise, let it ferment a day or two longer.
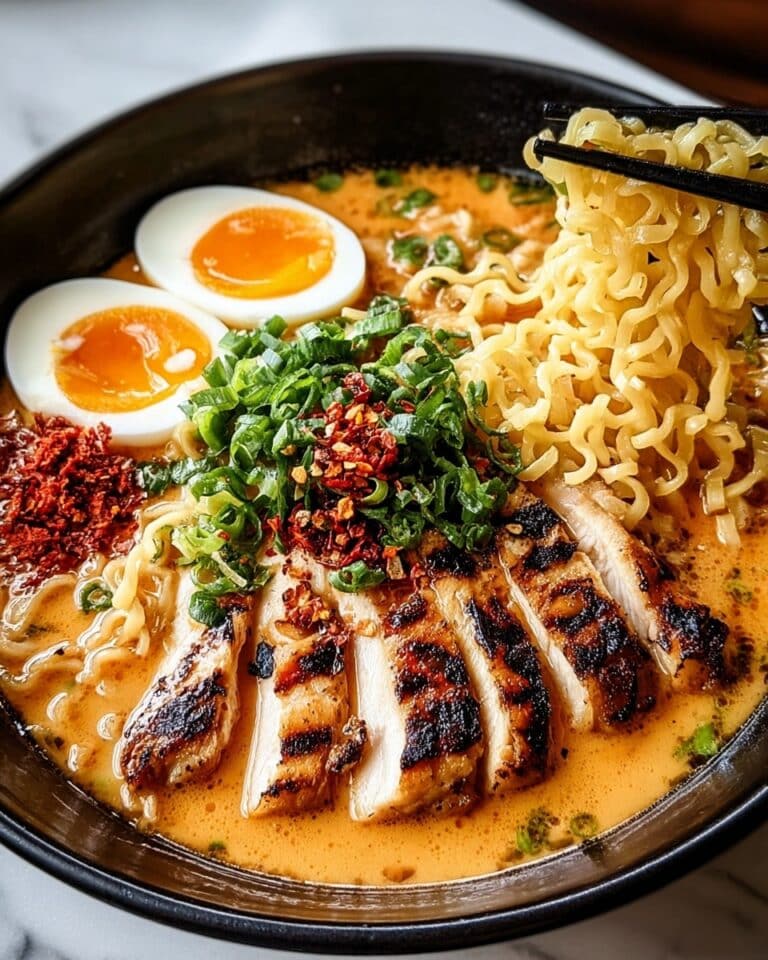
- Step 10: On Day 7, your kimchi is ready to enjoy! Serve it as a side, in soups, or in pancakes. Store in the fridge where it will keep fermenting slowly and last for months.
Tips & Variations
- Adjust the amount of chili flakes to suit your spice tolerance, adding more for heat or less for milder flavor.
- Use soy sauce instead of fish sauce to keep the recipe vegetarian-friendly.
- Optional veggies like carrot and daikon radish add crunch and color but can be omitted if unavailable.
- Keep the kimchi submerged in its brine to prevent mold growth during fermentation.
- Wear gloves when handling chili flakes and the kimchi paste to protect your skin.
Storage
Store your kimchi in an airtight jar in the refrigerator after fermentation slows. It will keep for several months, continuing to develop flavor gradually. To reheat, add kimchi to hot soups or stir-fries directly; no need to thaw.
How to Serve
Serve this delicious recipe with your favorite sides.
FAQs
How long does kimchi take to ferment?
Fermentation typically takes about 5-7 days at room temperature (65-75°F), but this can vary based on temperature and personal taste preferences.
What if I see mold on my kimchi?
Mold is rare if the vegetables are fully submerged in brine. If mold appears, carefully skim it off and ensure the kimchi remains submerged. Discard if mold persists or the smell is off.
Print
Foolproof 7-Day Kimchi Fermentation Guide Recipe
- Total Time: 7 days (including fermentation)
- Yield: Approximately 1 quart (4 cups) of kimchi 1x
- Diet: Gluten Free
Description
Learn how to make your own authentic Korean kimchi with this foolproof 7-day fermentation plan. Starting with fermenting Napa cabbage in a spicy, savory paste, this recipe guides you through salting, brining, mixing, fermenting, and enjoying your homemade kimchi with vibrant flavors and probiotic benefits.
Ingredients
Vegetables
- 1 large Napa cabbage (2–3 pounds)
- 1 bunch green onions, chopped
- 1 carrot, julienned (optional)
- 1 daikon radish, julienned (optional)
Seasoning and Paste
- 1/4 cup sea salt (non-iodized)
- 1 tablespoon sugar
- 1/2 cup Korean chili flakes (gochugaru)
- 4 cloves garlic, minced
- 1-inch piece of ginger, grated
- 2 tablespoons fish sauce (or soy sauce for vegetarians)
- 1 tablespoon rice flour (optional)
Instructions
- Prepare the Cabbage: Wash and quarter the Napa cabbage lengthwise. Remove the core and chop into bite-sized pieces. Place the cabbage in a large mixing bowl, sprinkle with sea salt, and massage it in with your hands or gloves. Allow it to sit for 2 hours, tossing every 30 minutes to soften and release water.
- Rinse and Drain Cabbage: After at least 8 hours or overnight, rinse the cabbage thoroughly under cold water to remove excess salt. Drain it in a colander and gently squeeze to remove extra water. The cabbage should be wilted but still crisp.
- Make Kimchi Paste: In a separate bowl, combine Korean chili flakes, minced garlic, grated ginger, fish sauce or soy sauce, sugar, and rice flour (if using). Add a bit of water if the mixture is too thick to create a spreadable paste.
- Mix Vegetables with Paste: In the large bowl, add the drained cabbage, chopped green onions, julienned carrot, and daikon radish. Pour the kimchi paste over the vegetables and use gloved hands to thoroughly coat every piece. Taste and adjust salt or spice as desired.
- Pack into Jar: Transfer the kimchi mixture into a clean fermentation jar, pressing down firmly to remove air bubbles and submerge the vegetables in their juices. Leave some space at the top and use a smaller jar or weight to keep everything submerged. Add brine if necessary (1 teaspoon salt dissolved in 1 cup water).
- Start Fermentation: Seal the jar and place it on a tray. Store the jar in a cool, dark spot at 65-75°F. Fermentation begins as beneficial bacteria convert sugars into lactic acid, creating tangy flavors. Check periodically for bubbles and sour aroma, skimming mold if it appears.
- Monitor and Taste: Around Day 6, open the jar and taste the kimchi to assess flavor. If it’s tangy and fizzy to your liking, move the jar to the refrigerator to slow fermentation. If you want stronger flavors, leave it at room temperature for another day or two.
- Enjoy Your Kimchi: By Day 7, your kimchi is ready to serve. Enjoy it alongside rice, in soups, or in dishes like kimchi pancakes. Store in the refrigerator, where it will continue to ferment slowly and keep for several months.
Notes
- Use gloves when handling chili flakes to protect your skin from irritation.
- Adjust chili flakes according to your preferred spice level.
- Rice flour is optional but helps thicken the kimchi paste for better adhesion.
- Ensure the kimchi is submerged under its brine to avoid mold formation.
- Store kimchi in the refrigerator after reaching desired fermentation to prevent over-fermentation.
- If mold develops, skim it off promptly and ensure vegetables remain submerged.
- Prep Time: 30 minutes
- Cook Time: 0 minutes
- Category: Condiment
- Method: Fermentation
- Cuisine: Korean
Keywords: kimchi, fermented vegetables, Korean recipe, napa cabbage, homemade kimchi, fermentation, probiotic foods


